I’ve been teaching stomp rockets for several years now and have finally found a place to show assembly instructions for the launcher. One of the things I love about stomp rockets is that basically anyone can make them and launch them. With that in mind, I have chosen to use a launcher that is as easy to assemble and “repair” as the rockets are to make. I have done this project with children as young as 5. The hardest part of making and launching rockets is using scissors and tape to make the rockets. You can read more about making rockets as well as plans in other posts. Today I am just focusing on making the launcher. I do not permanently attach (glue) the laucher for two reasons. First is that I want it to be easy to assemble and use for all ages. Second is that it is much easier to store or transport if it can be fully disassembled. I like to keep ours in a string-type backpack. This allows it to be easily accessible and hung out of the way when not in use.
Here you see two of my favorite girls using the rocket launcher, the youngest is 5. She did an excellent job of pulling off the bottle connector and reinflating the bottle by blowing into the connector. These two spent quite a while building and launching their rockets. They were having so much fun that several of the adults made rockets of their own.
Let’s get to building the rockets. I took these photos last summer while putting together another launcher for some guests. The PVC parts we purchased at a local Big Box Home Building store. I went in with a $5 and came out with all the parts and enough change to buy a generic 2 liter of pop.
Let’s start with the tools you will need to make your own rocket launcher. These are the tools you will need to cut the PVC pipe. If you do not have these tools, don’t worry, most home building stores have a place for you to cut the pipe before you leave. If you have trouble, just find a staff person at the store to help you cut them. You will not need any glue, sealer or adhesive because you will not need or use it. All of the pieces should just push together.
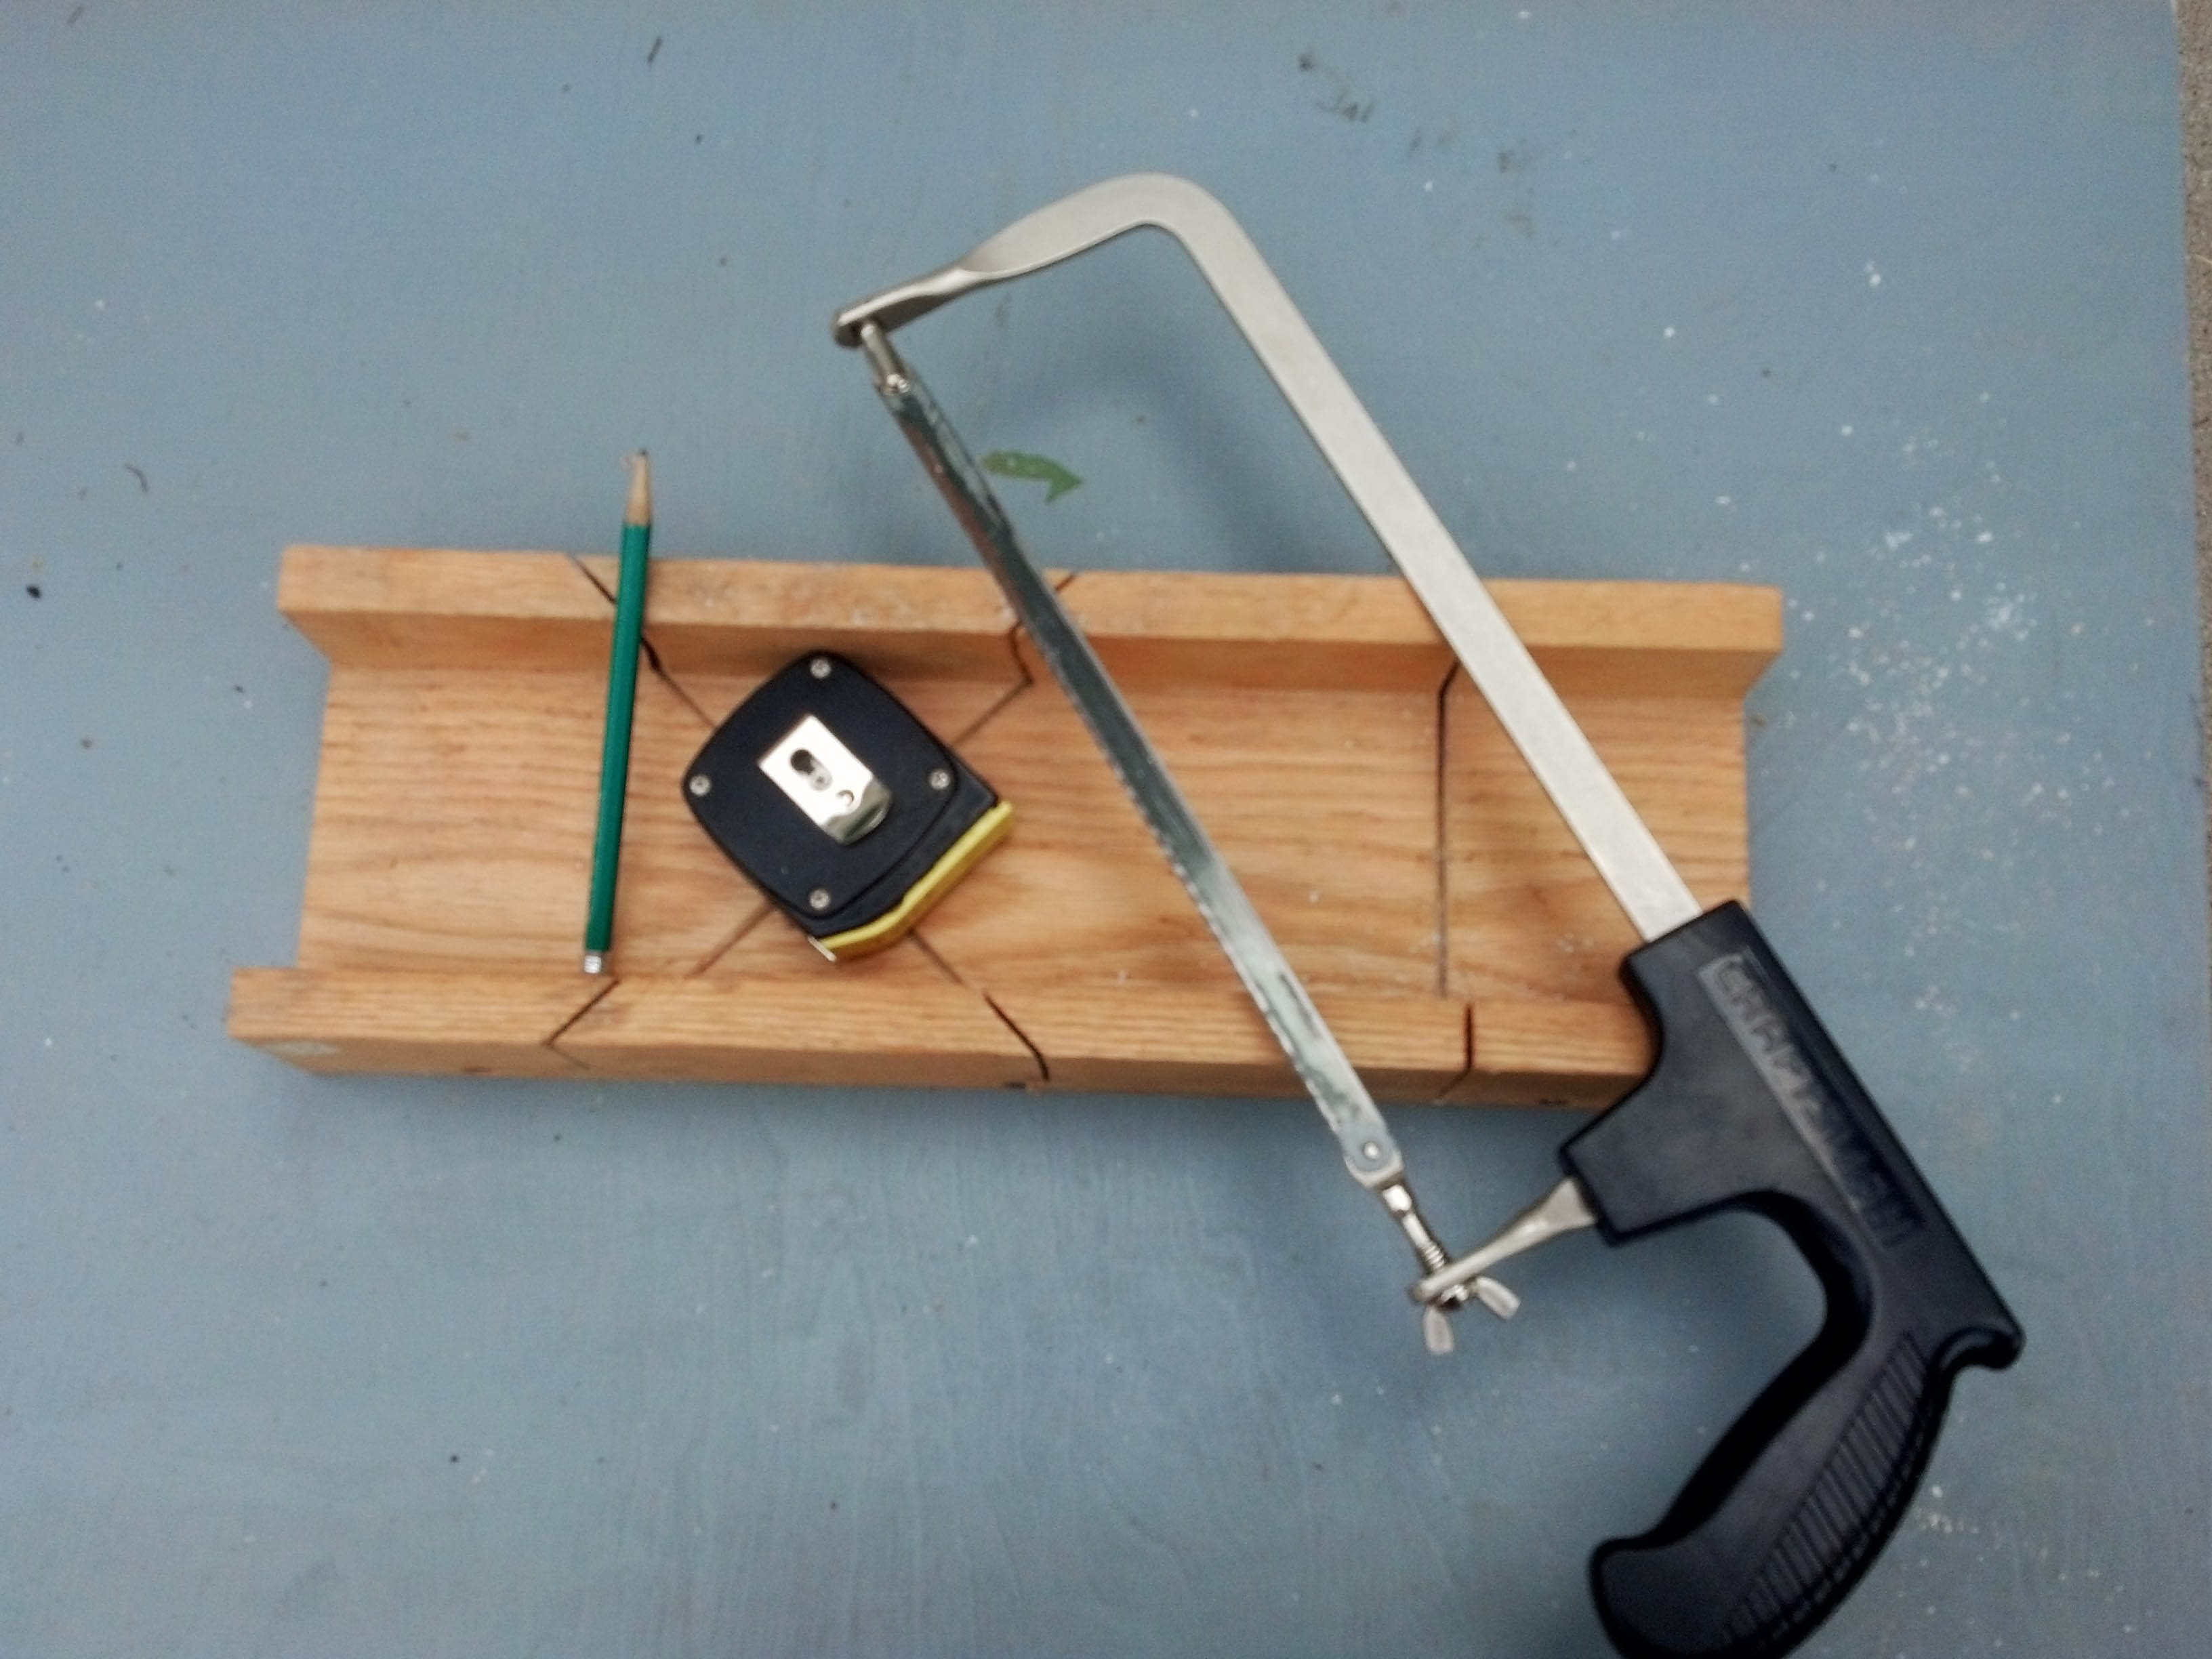
Tools:
Hack Saw
Tape Measure
Pencil
Miter Box
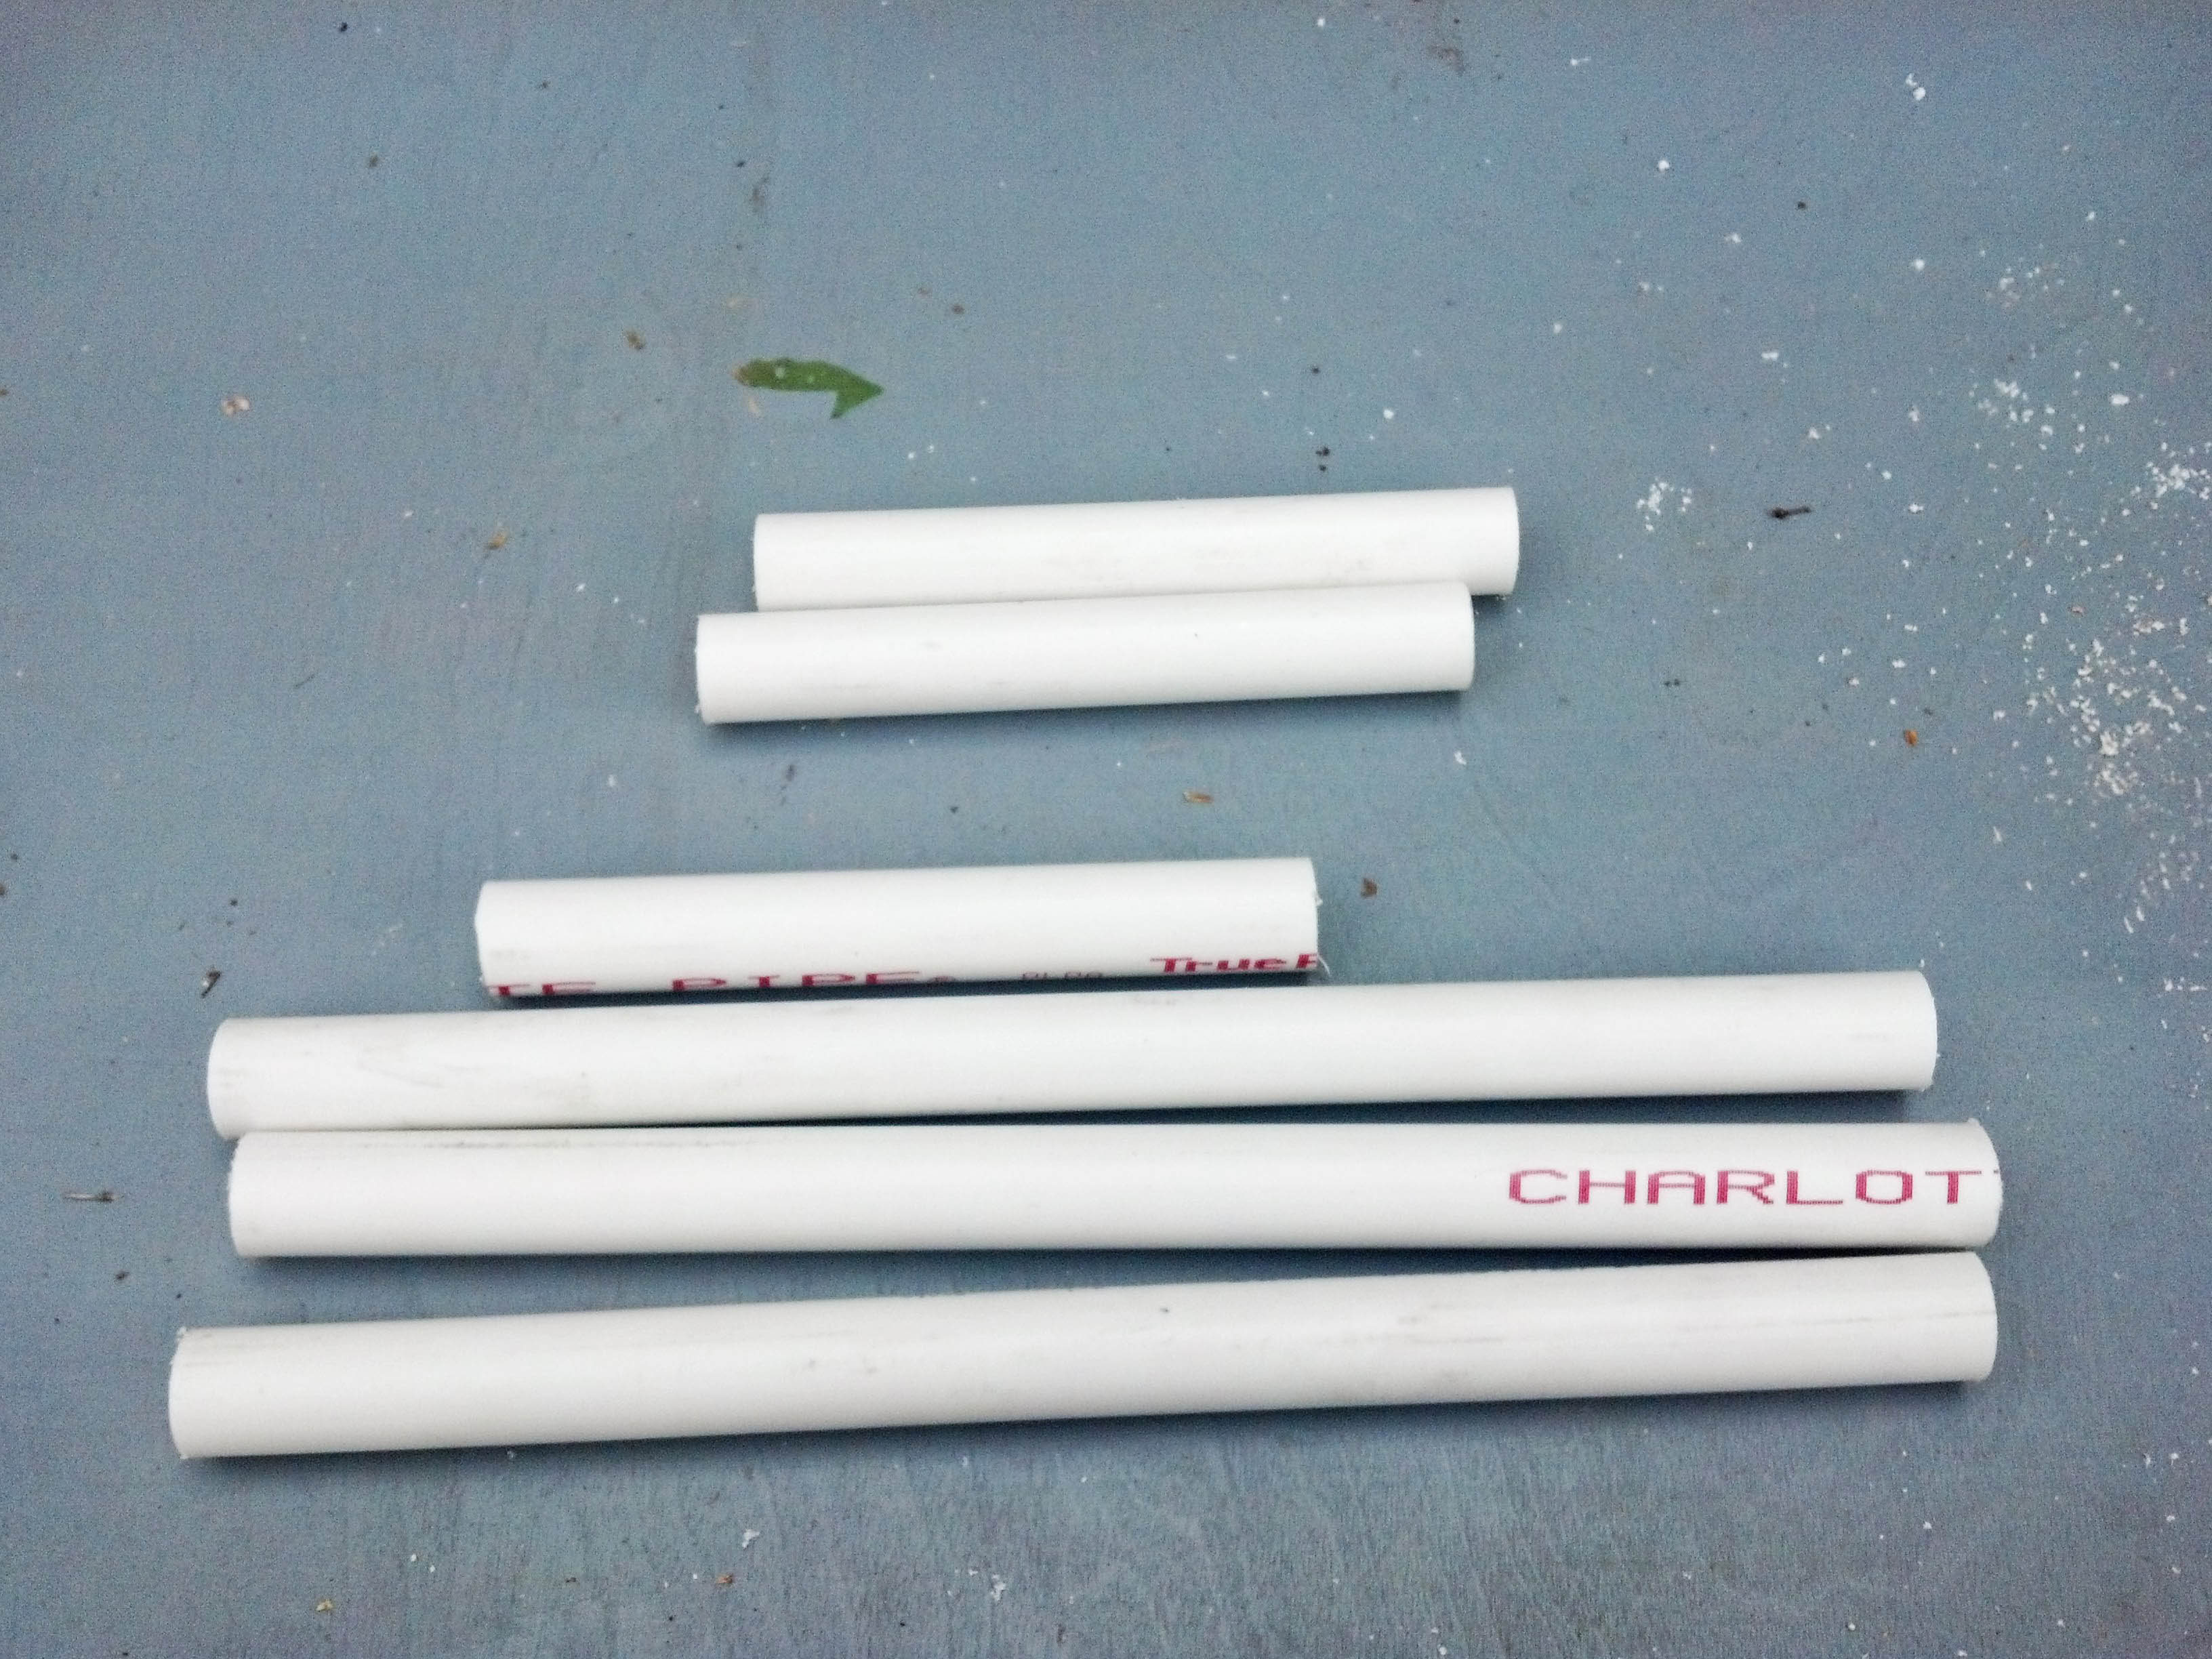
Next you will need these pieces of PVC and fittings.
Supplies:
6 pieces 1/2 inch PVC pipe
3 – 6 inch pieces
3 – 12 inch pieces
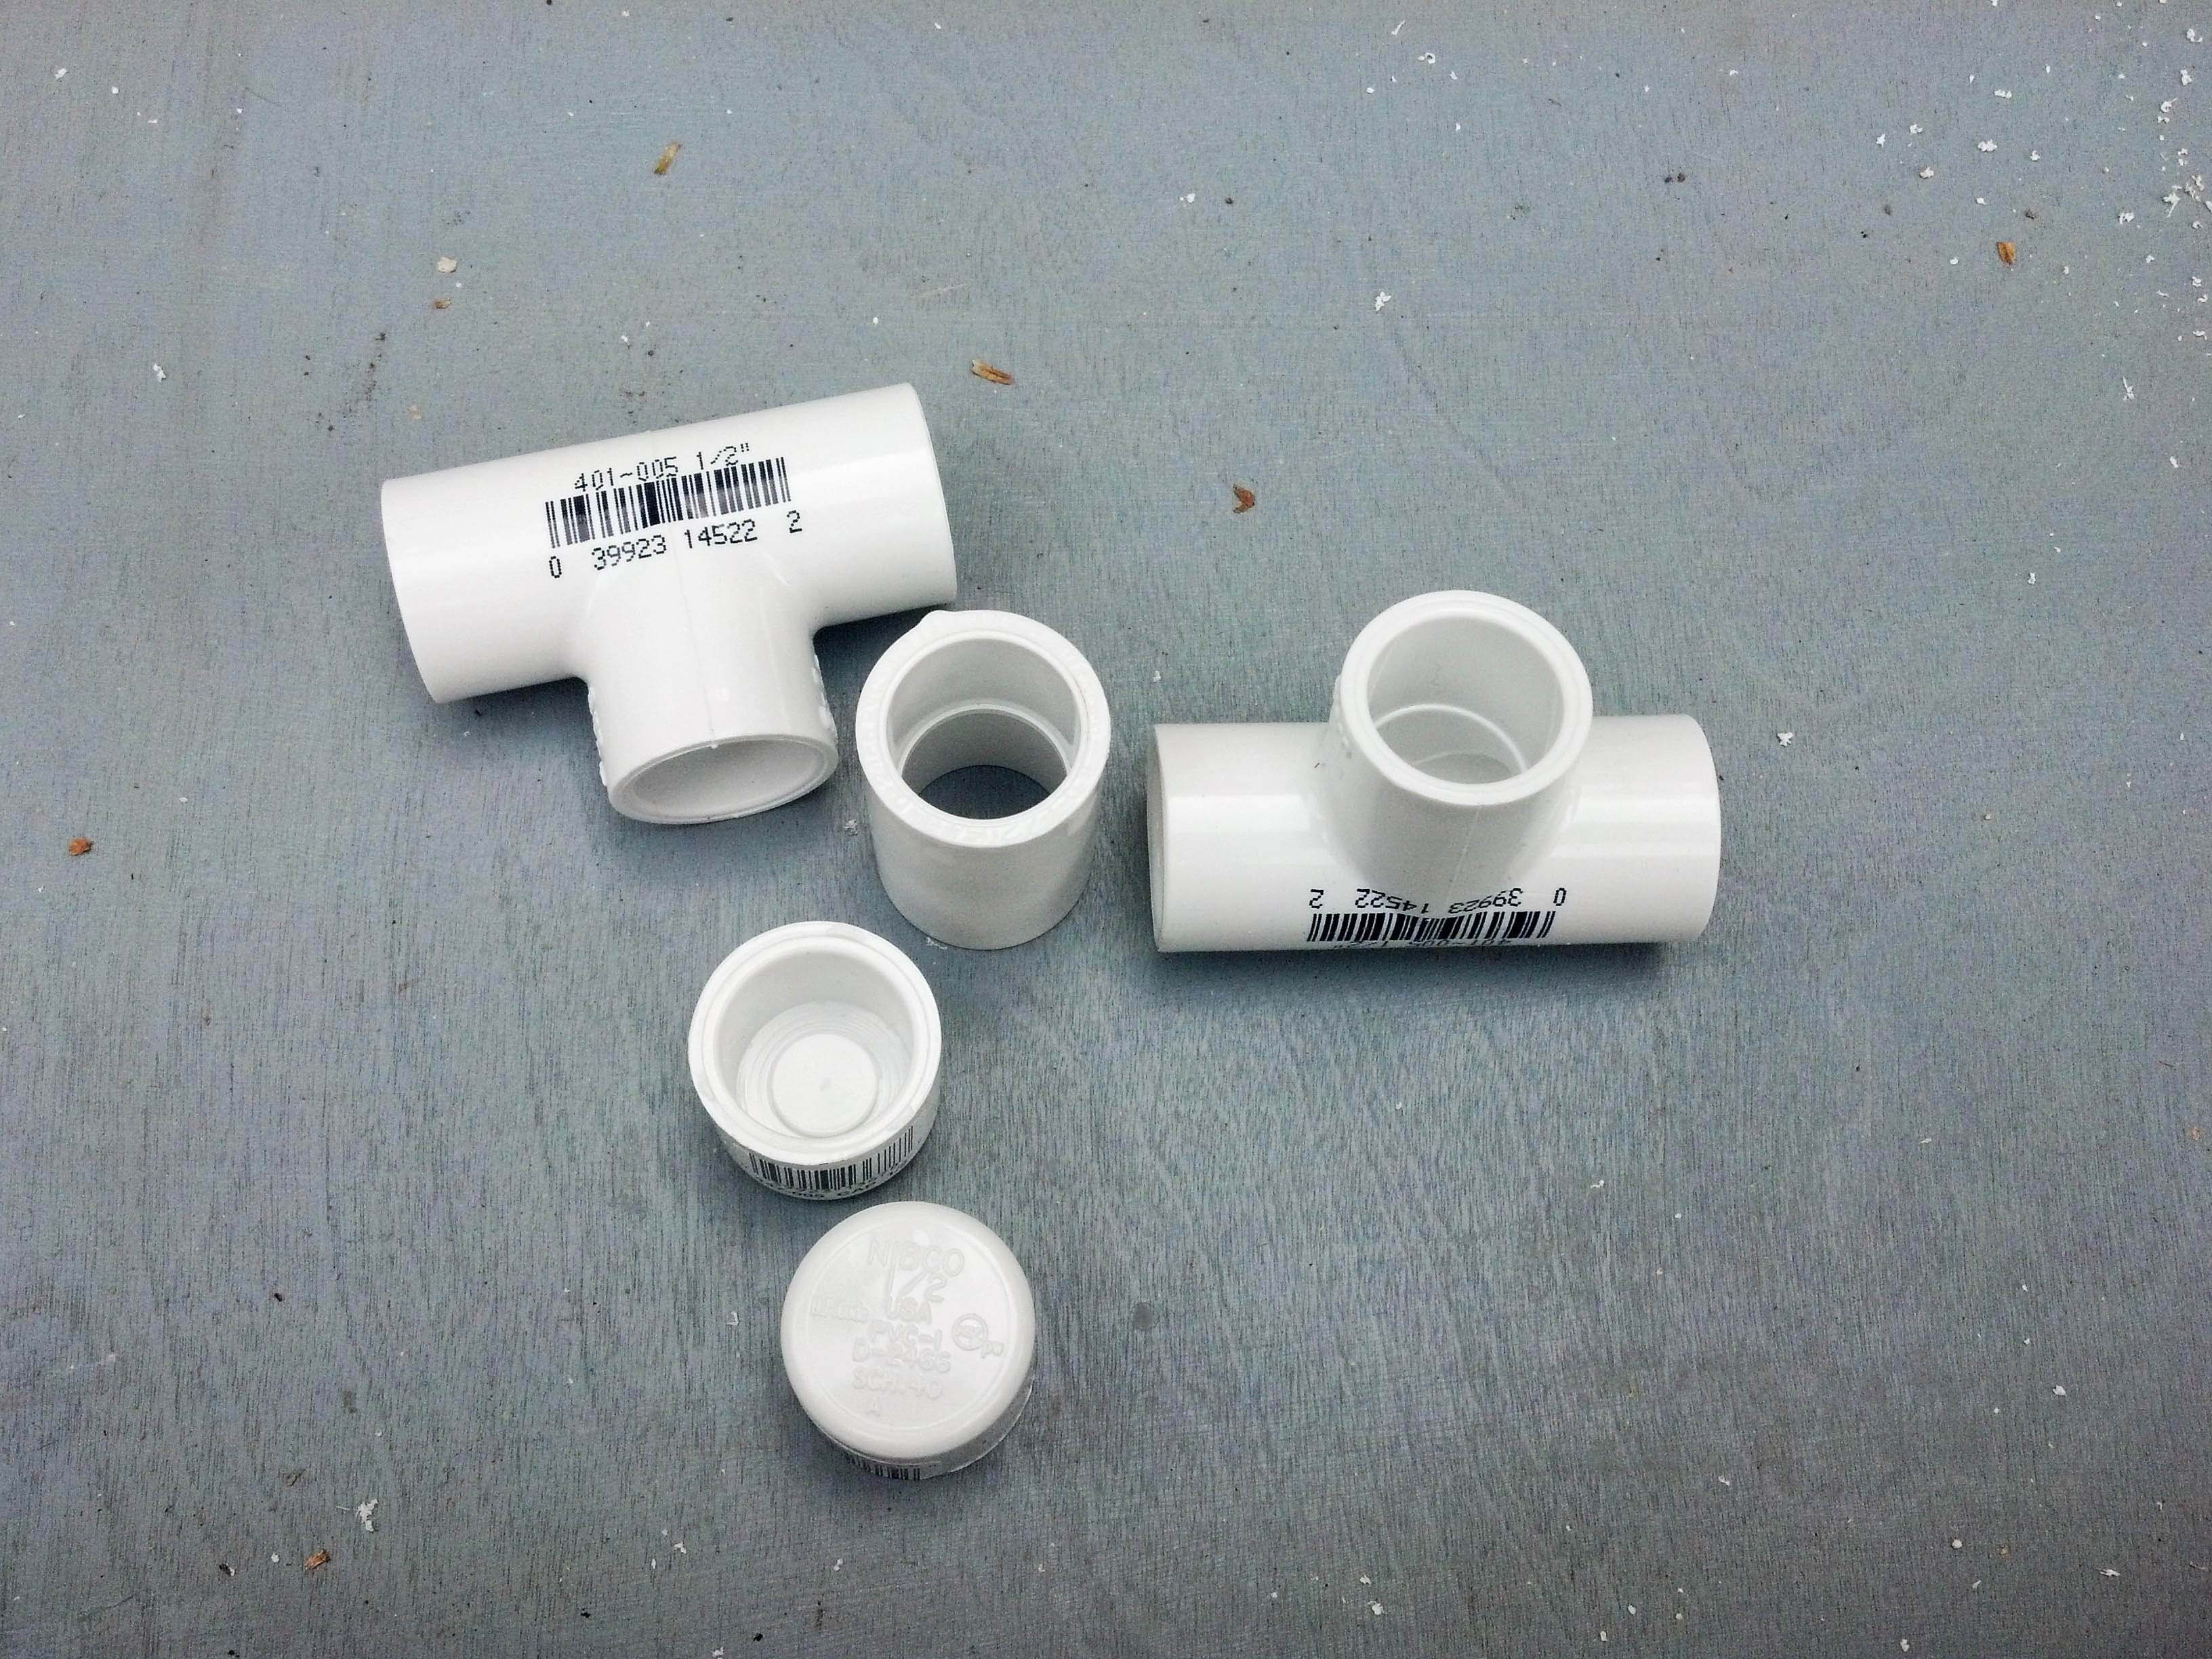
2 – 1/2 inch caps
2 – 1/2 inch T-joints
1 – 1/2 inch coupler
duct tape (not pictured)
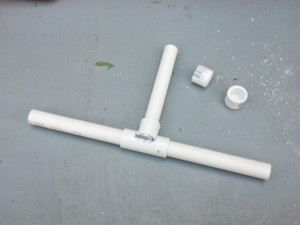
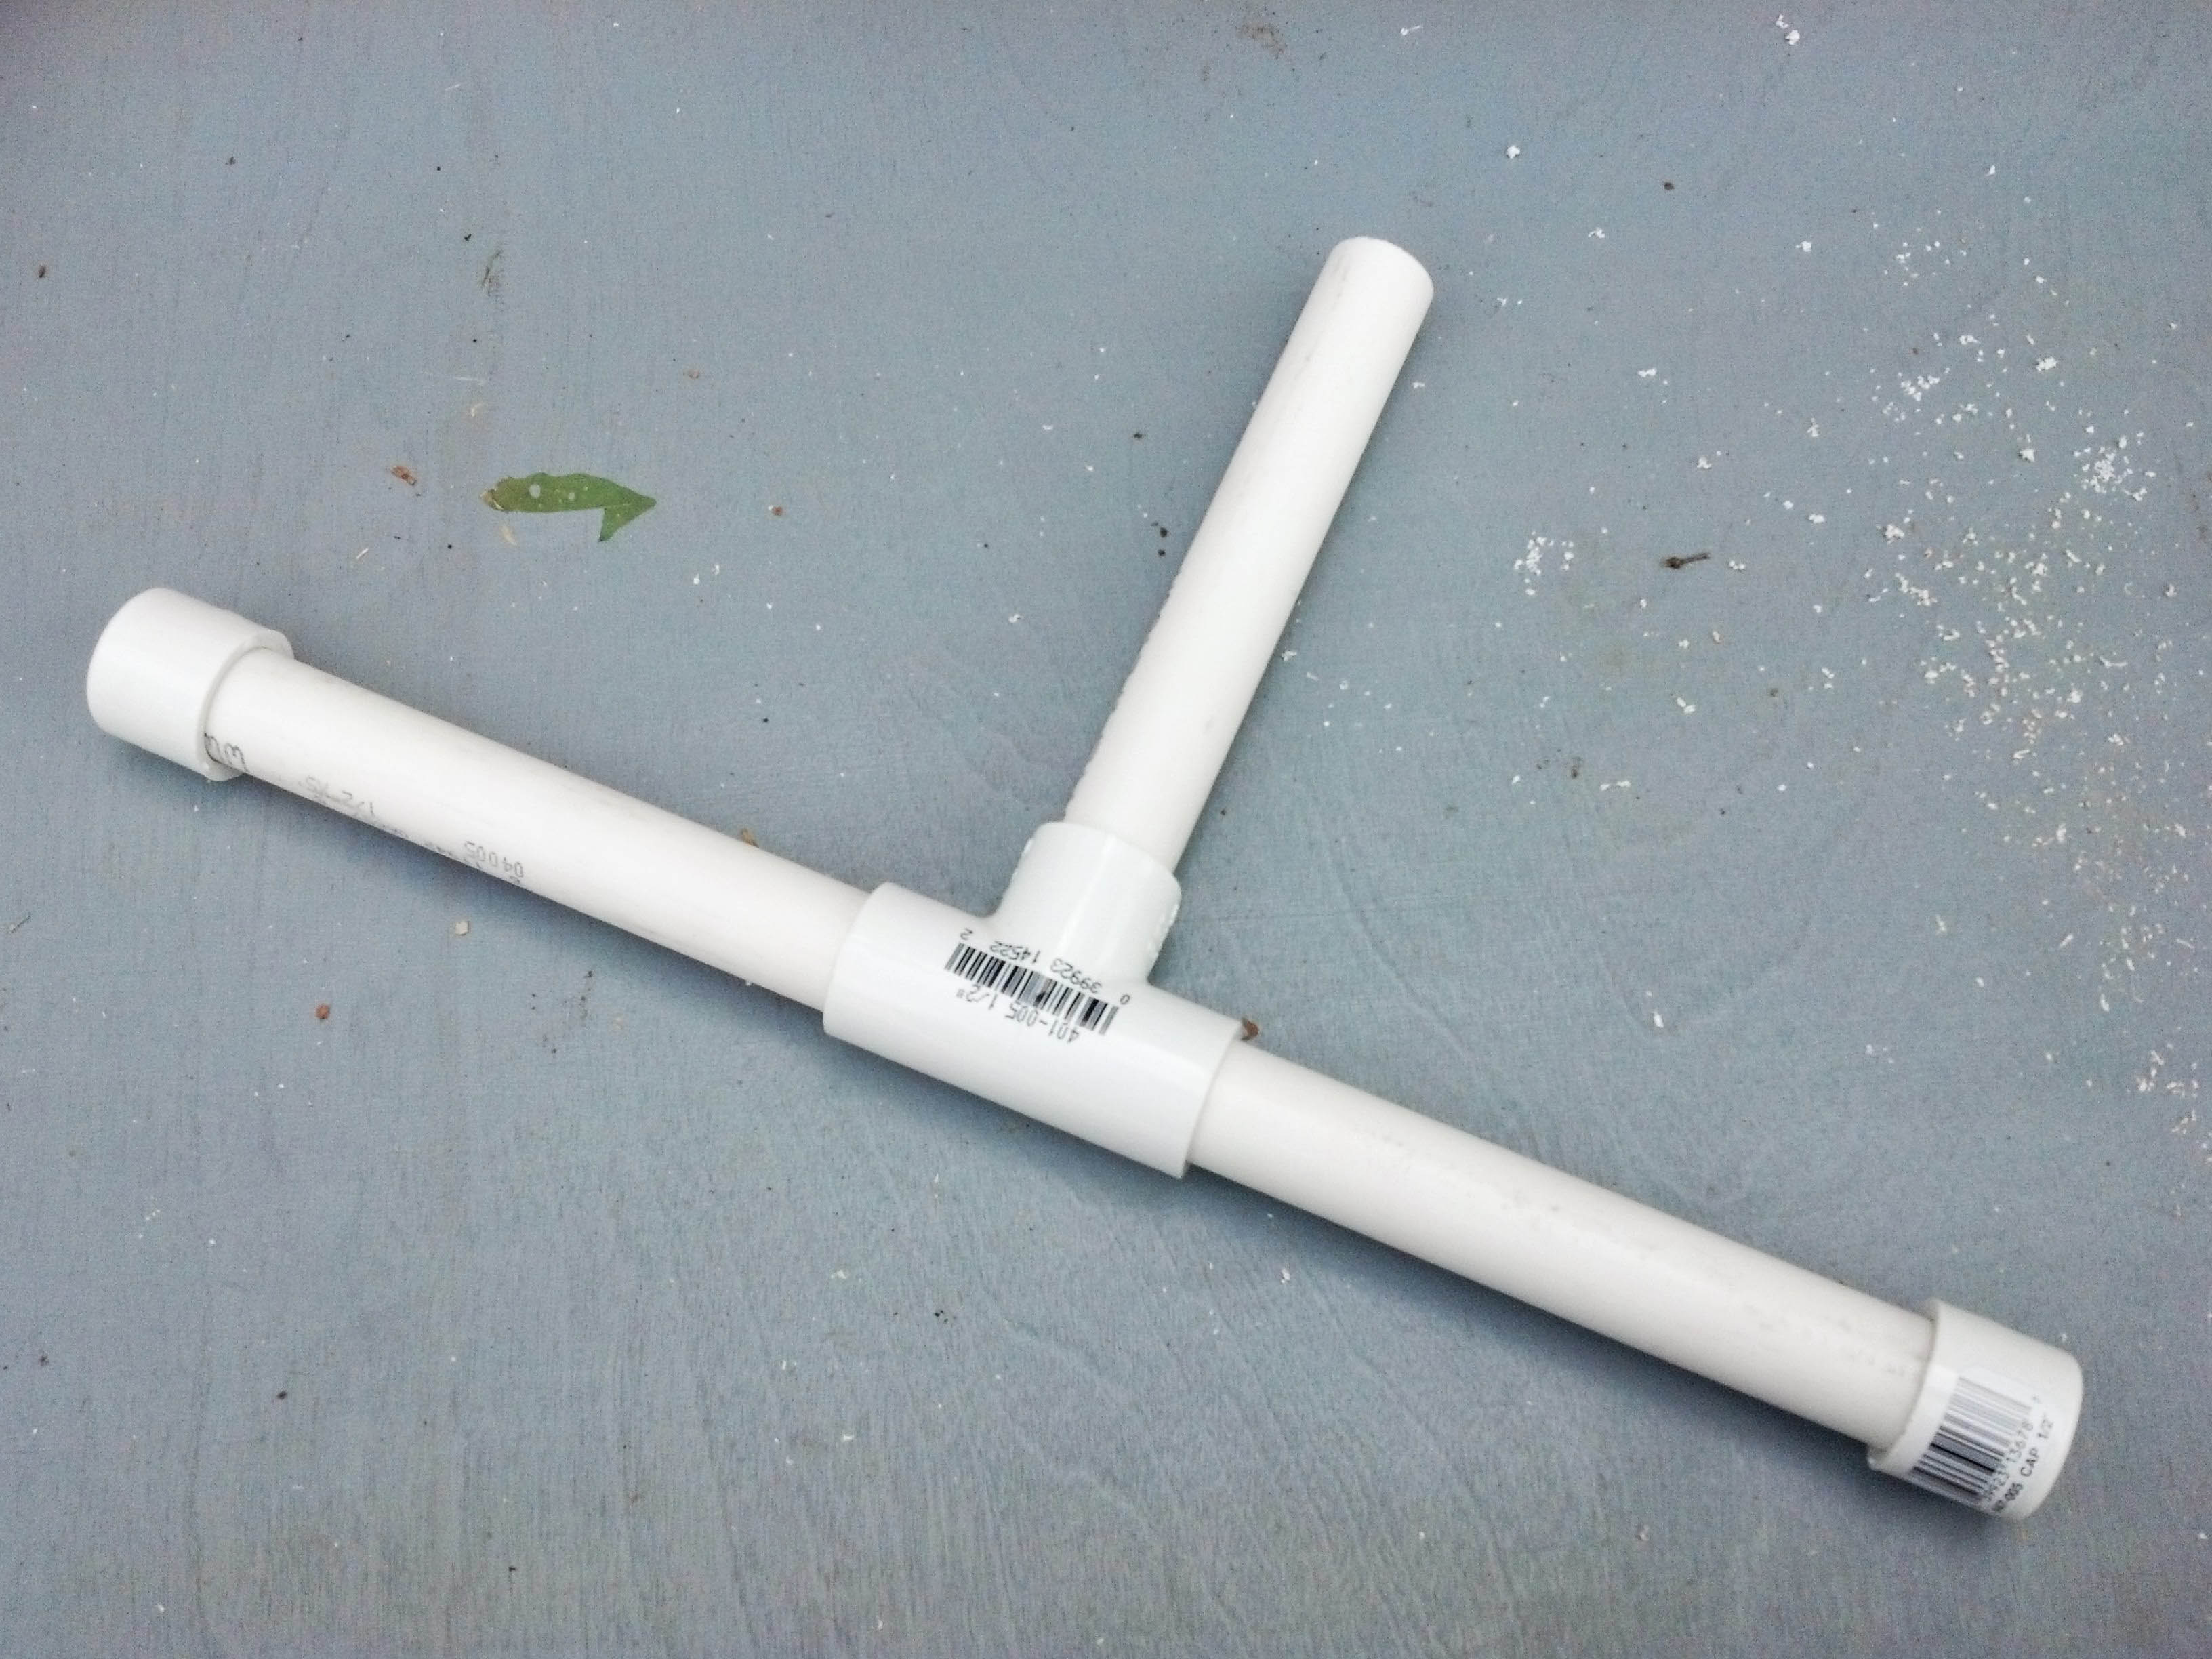
Now, we’ll start the assembly with three 6 inch pieces, a t-joint, and the caps. Assemble them to form a T shaped structure with the two ends of the T capped and the bottom of the T open.
These photos show assembly of the base in two easy steps.
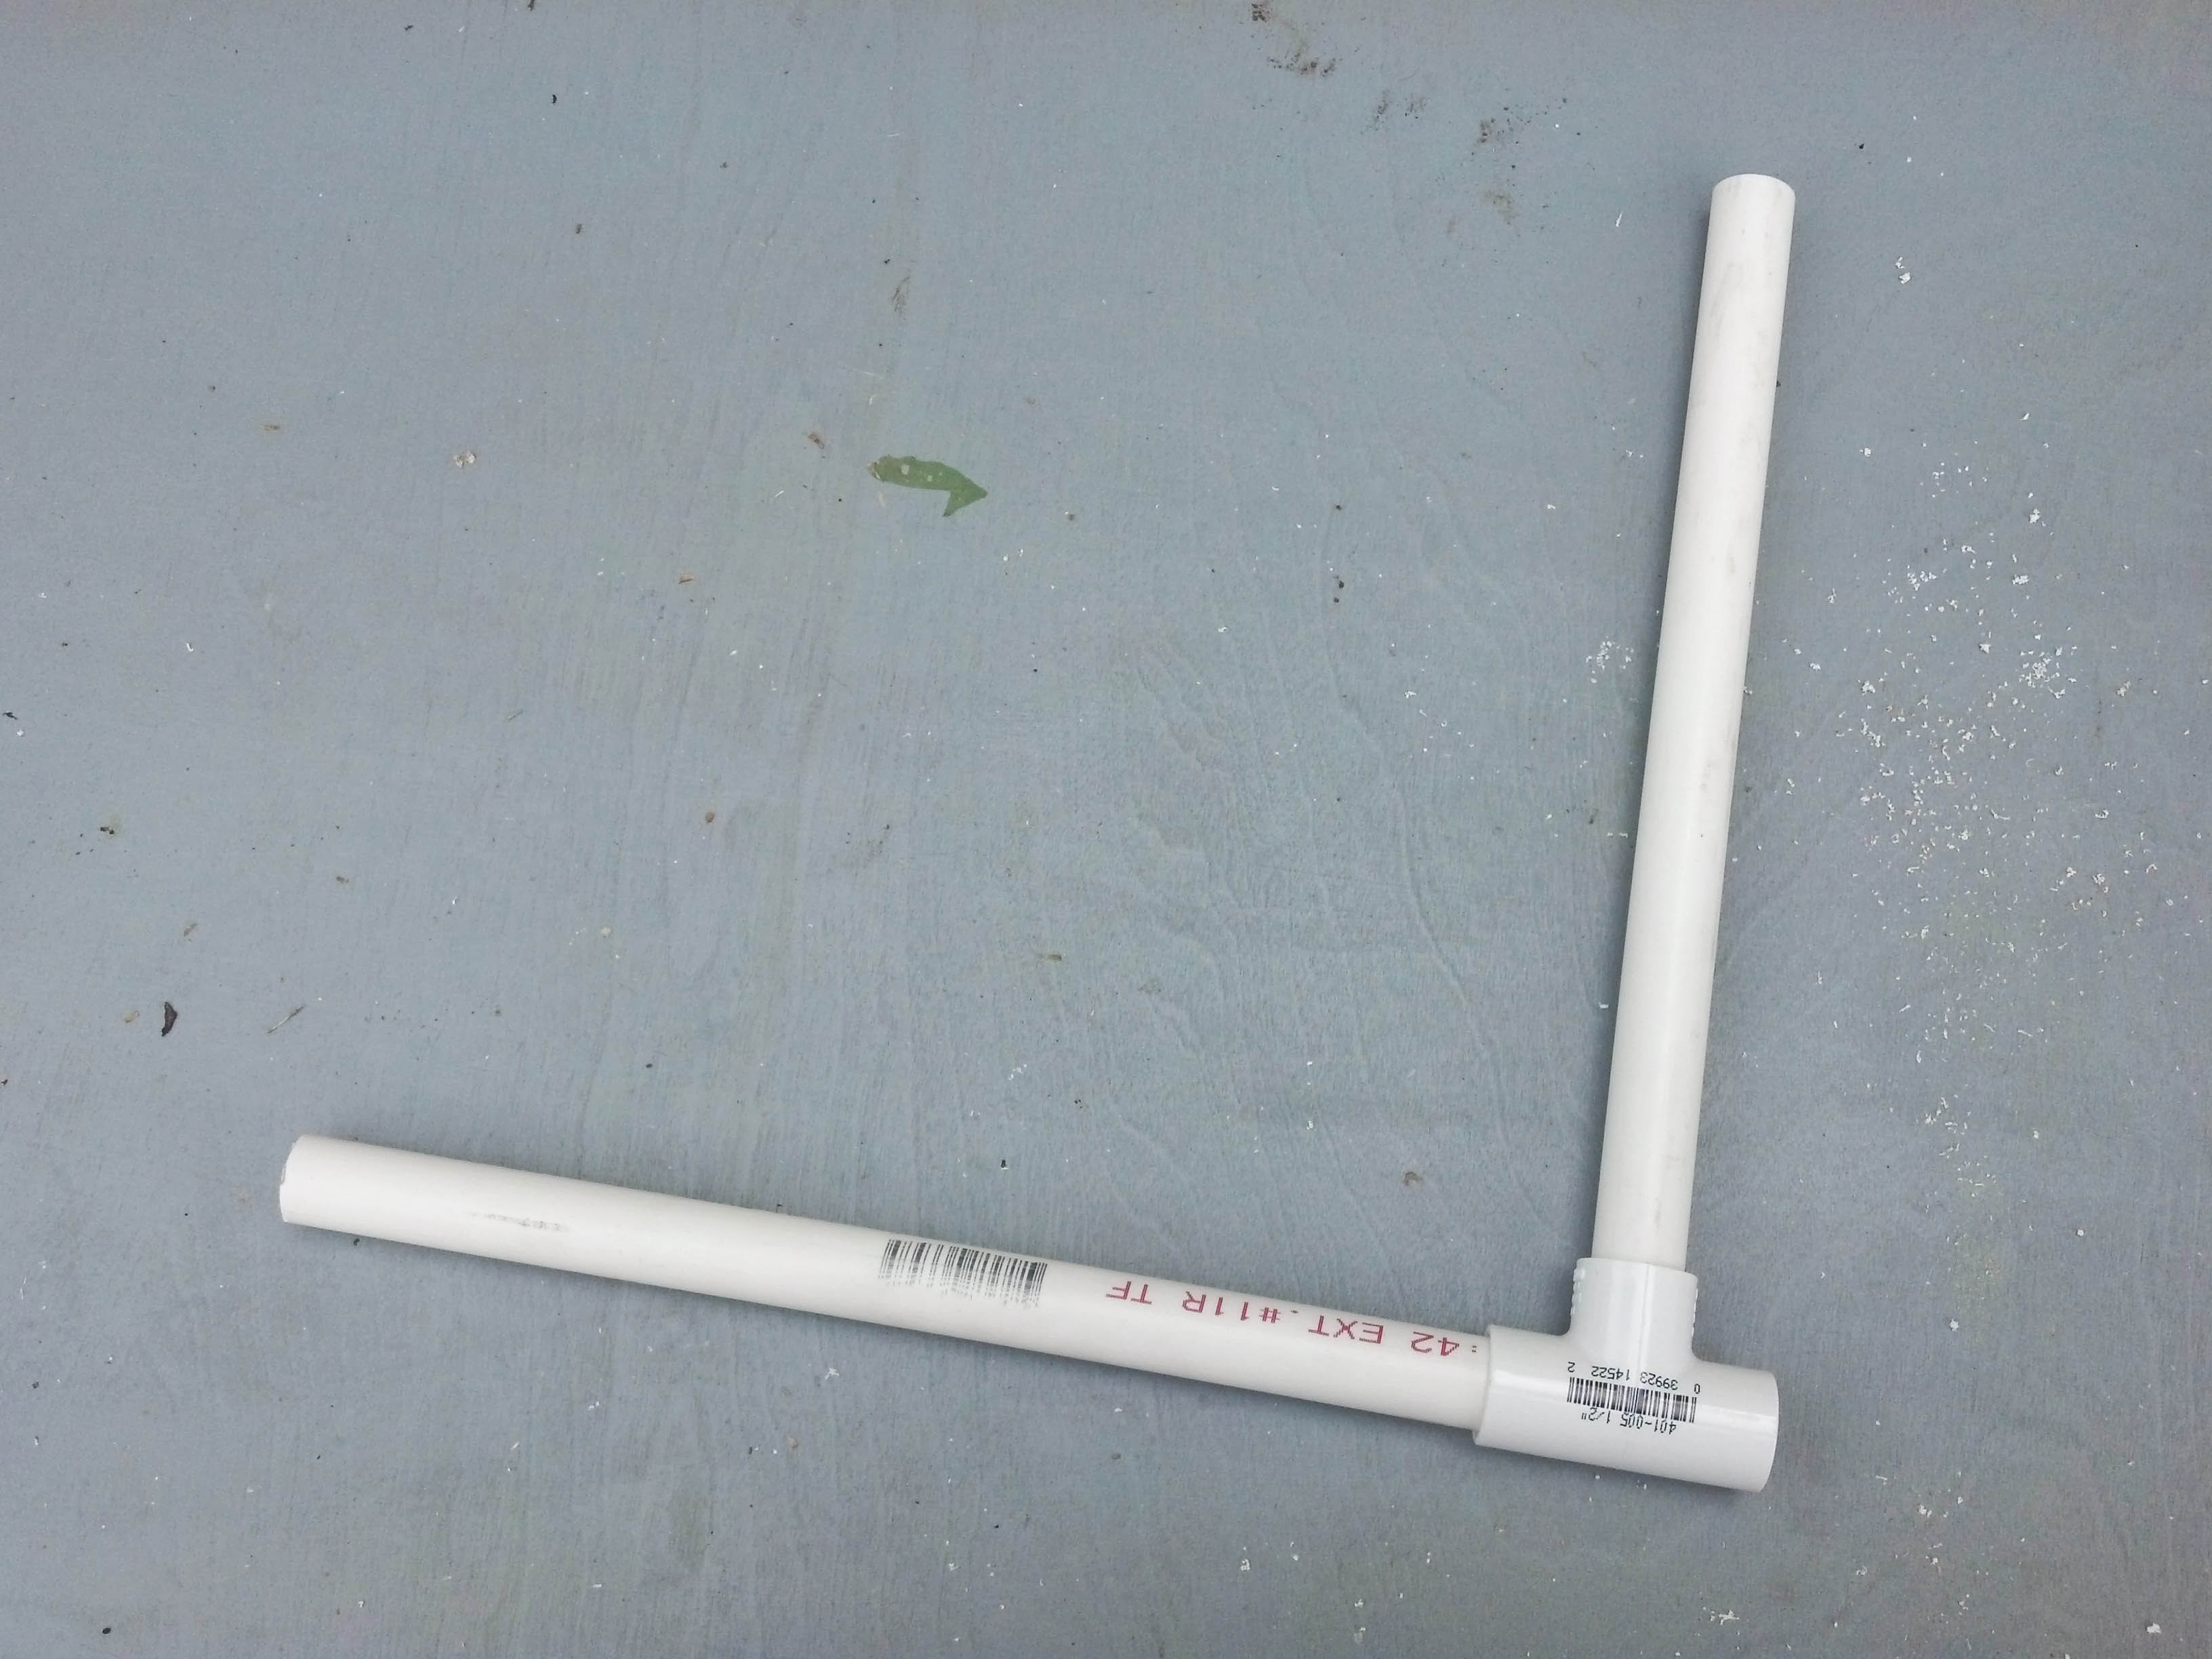
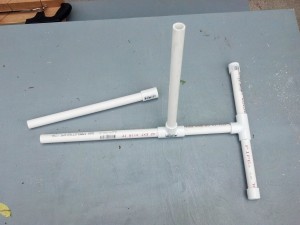
Next, we will build the launch section. You will use two 12 inch pieces and the other T-joint. Assemble this into a right angle using the center and one edge of the T-joint, leaving one end of the T-joint open. The open section of the T-joint will connect to the base.
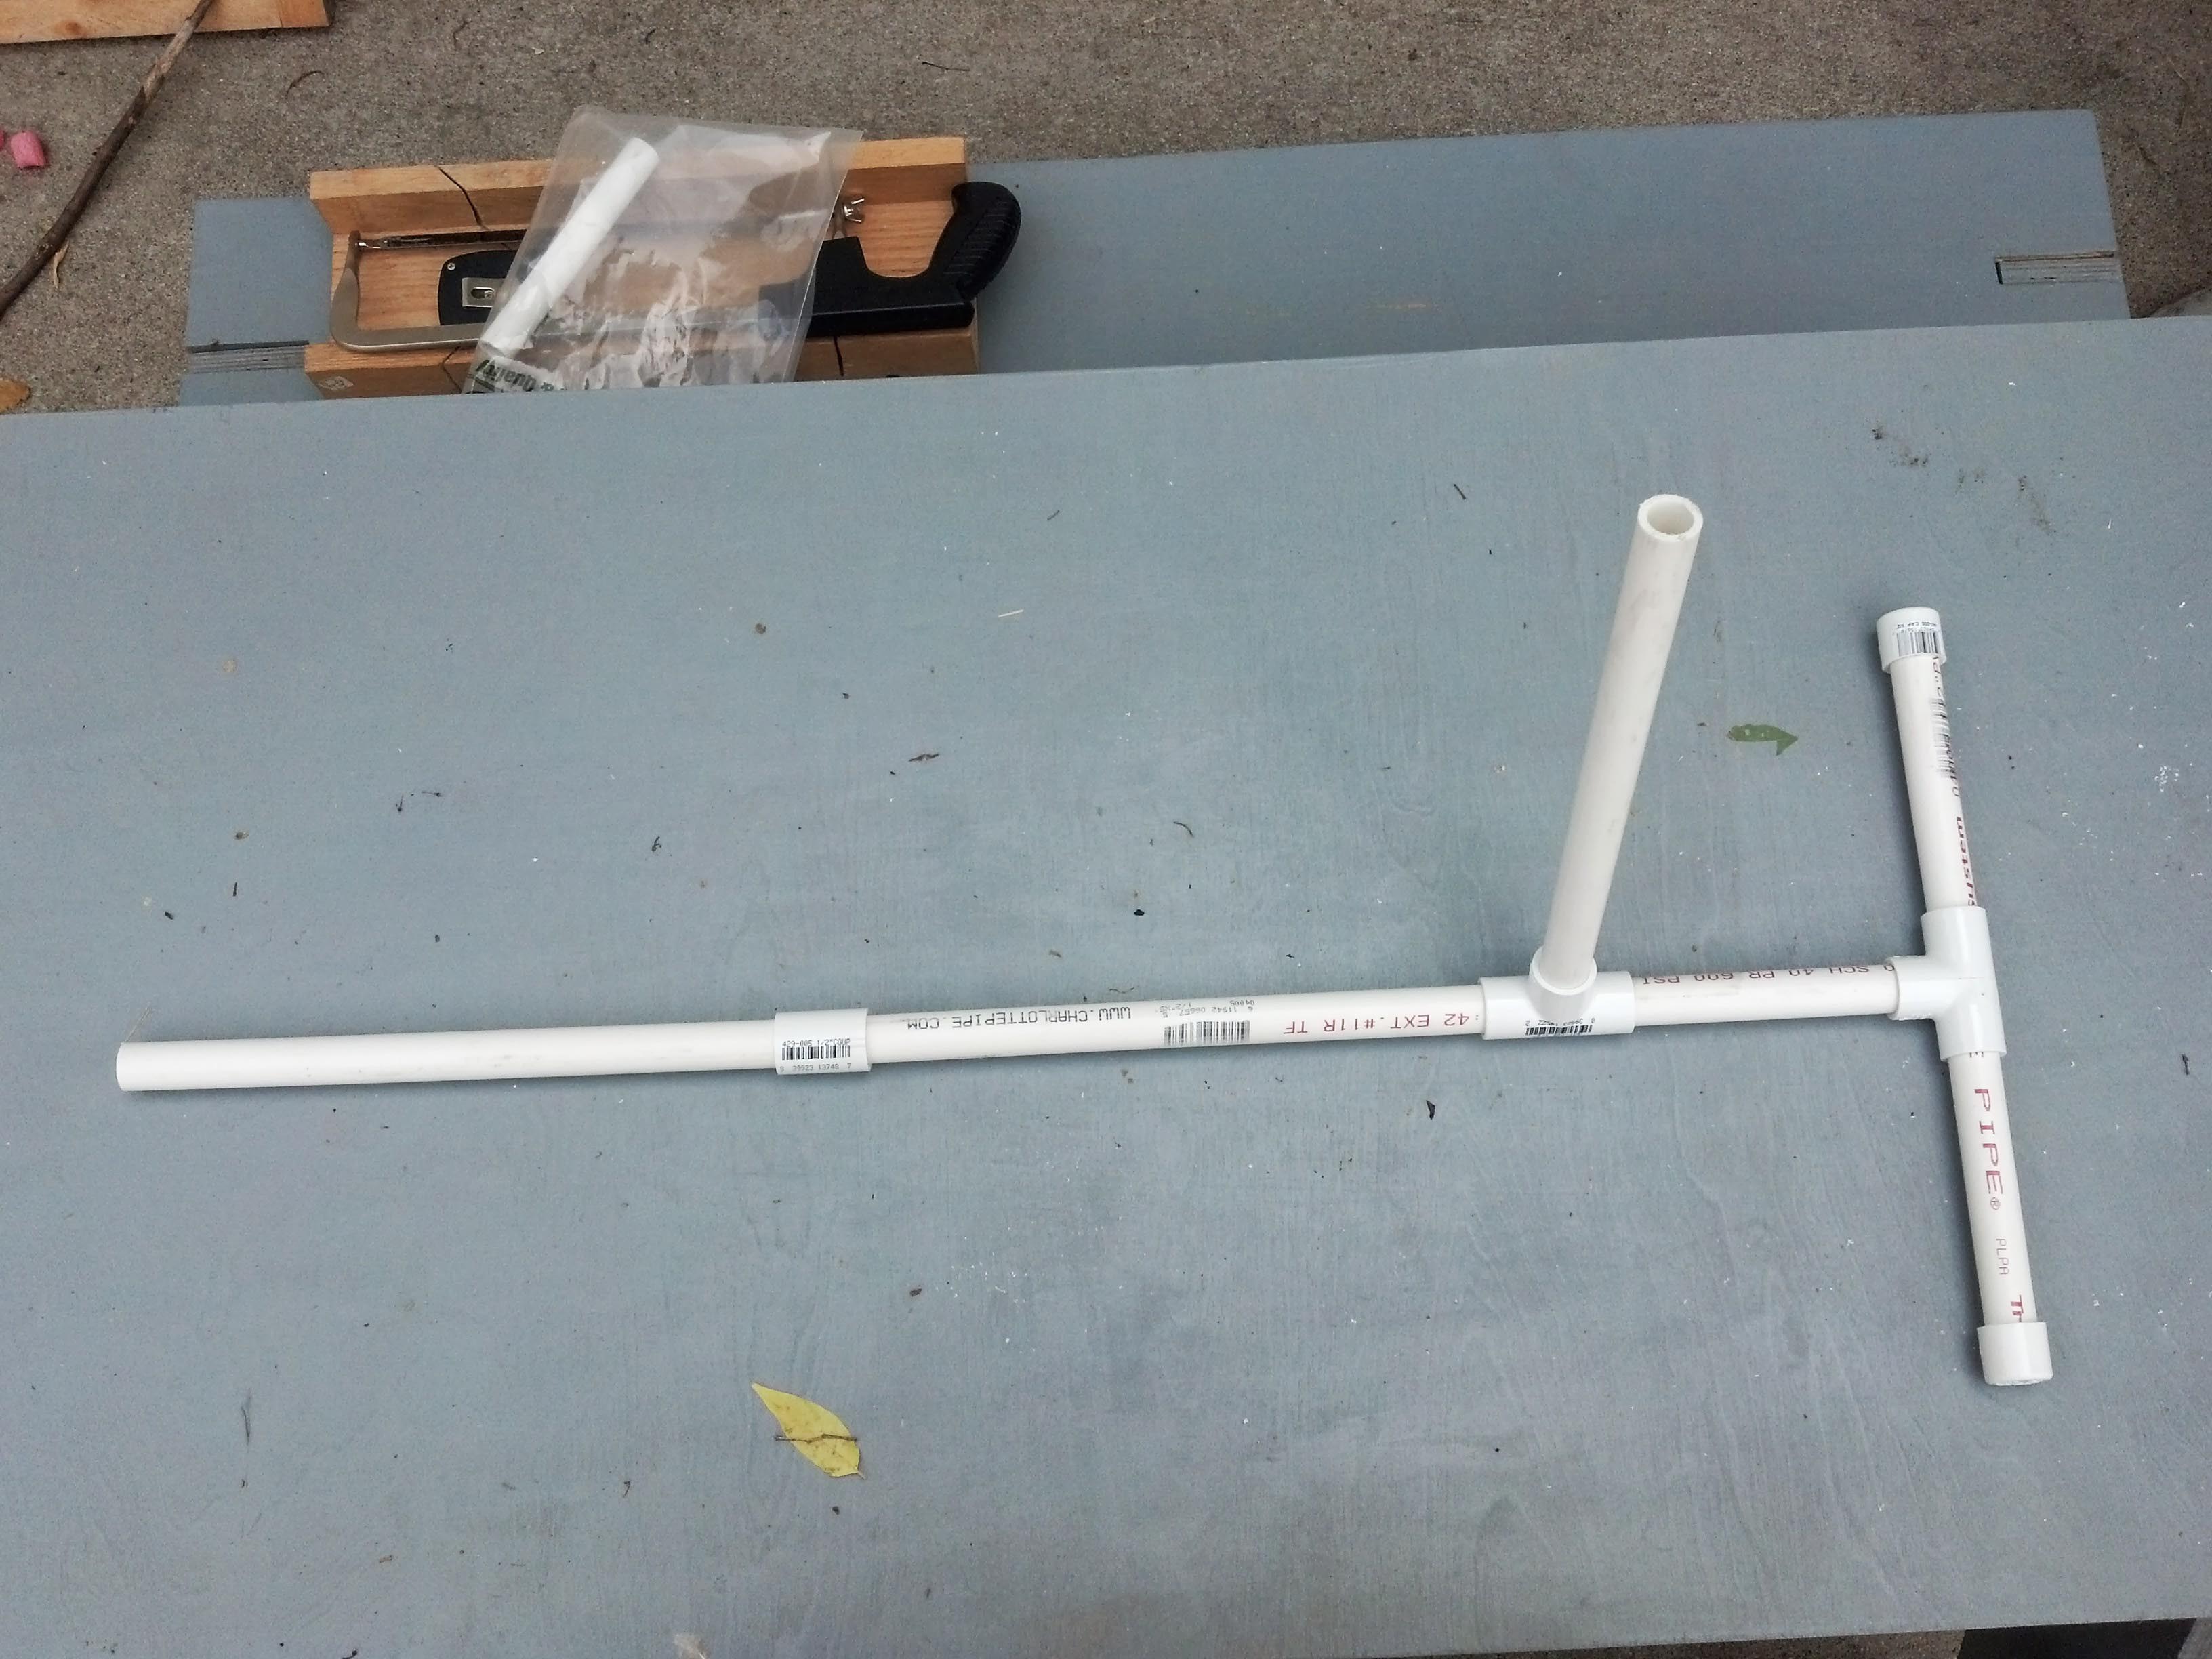
You should now have these two parts. Connect the launch section and the base section to form your launcher. Put them together and you should have your competed launcher.

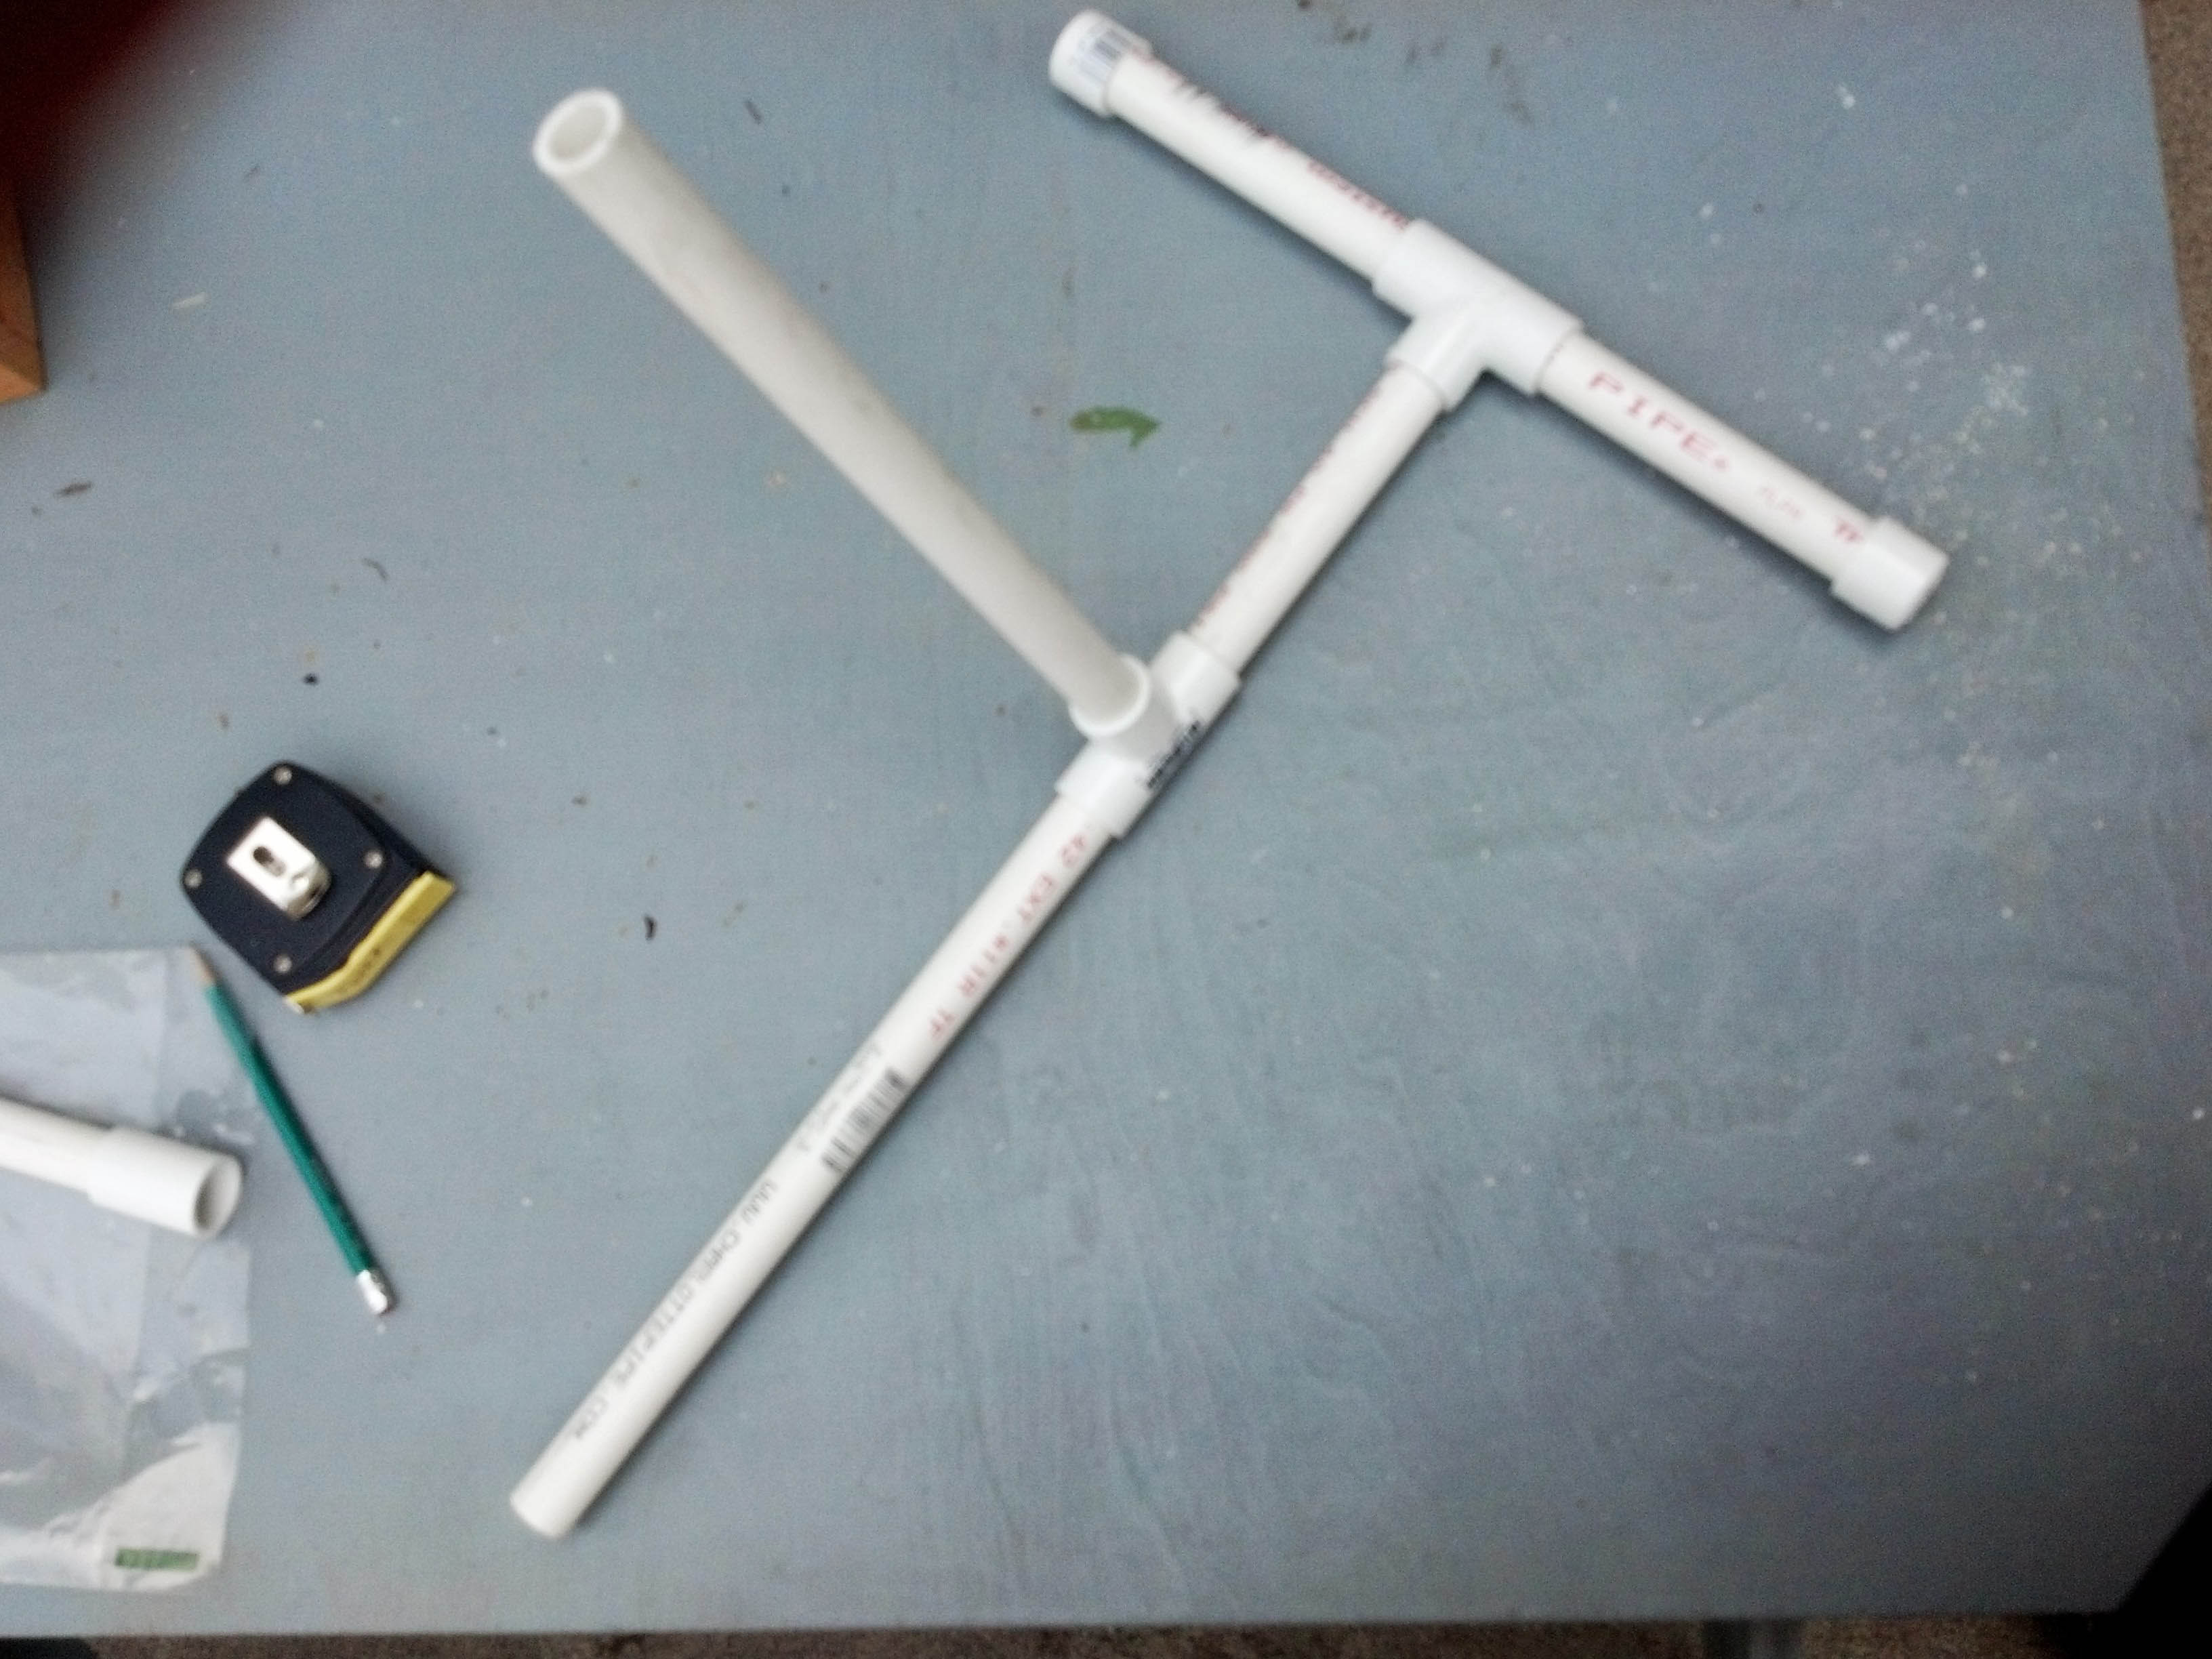
Almost done. The last section to build is the bottle connector. Place the coupler on the end of the last 12 inch piece. You will connect this piece to the launcher using the coupler. All that is left is to add a two liter bottle to the end of the connector and seal with a couple inches of duct tape and you are ready to make and launch rockets.
This is by no means the be all, end all of stomp rocket launchers. There are several good designs out there. As with anything, I encourage kids and adults to experiment. Try building a launcher that will launch two rockets at a time. Or maybe try a launcher with two pop bottles. See if you can get any extra height or distance out of them. Take pictures and share your results. I’d love to see, and maybe even share, what you’ve done.